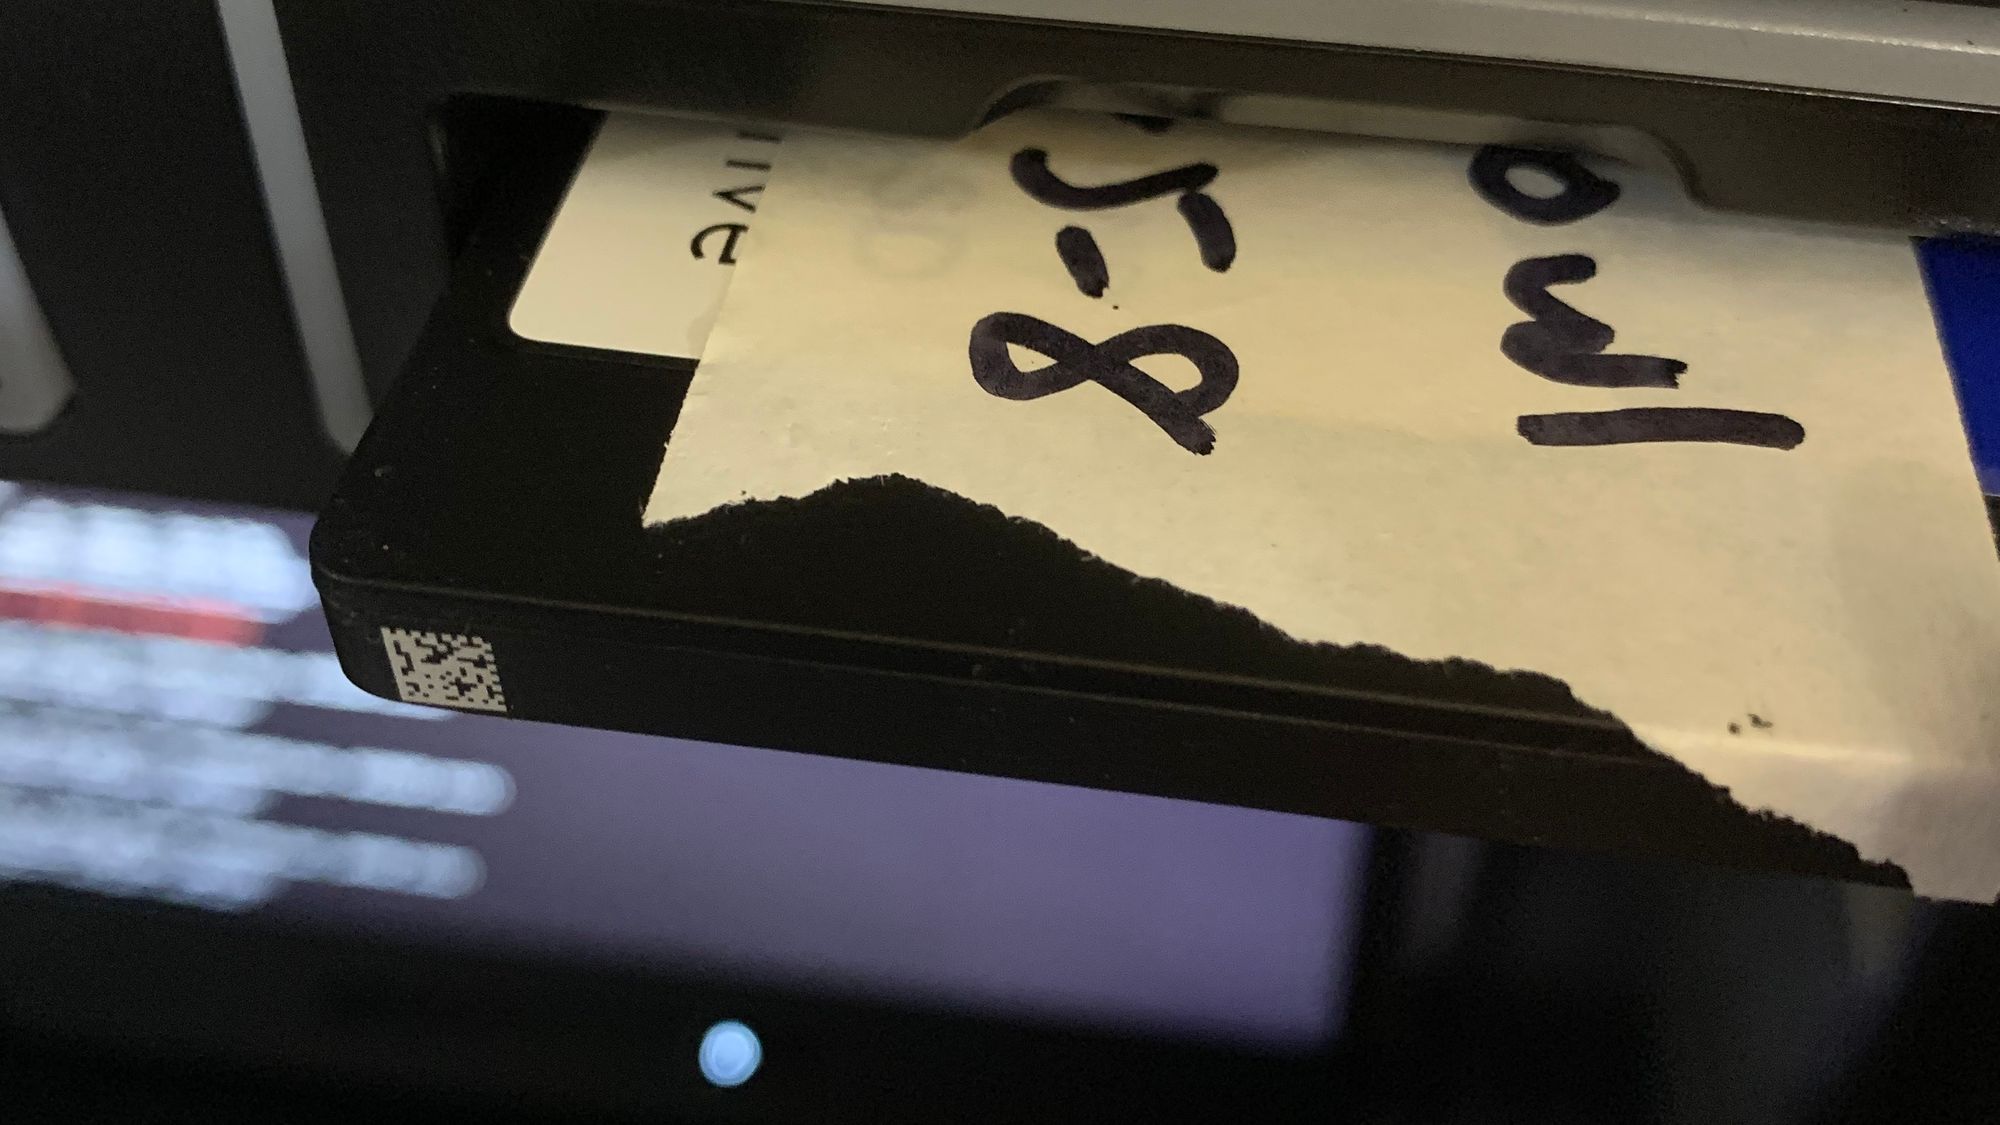

At Tempus Ex, our cloud infrastructure is built within AWS, so when we collect data at sporting events around the country we have to get it into the cloud somehow. We do that by shipping drives to a data center, where their contents get sent over a Direct Connect VIF to an S3 bucket before they get shipped out to the next event.
Why not upload from the event venues?
Venues have limited bandwidth, and more importantly, we have limited time in them. We can't afford to sit around for hours after games for data to upload.
Why not upload from the office?
We could get a Direct Connect to the office and upload from there, but there are several downsides to that:
- We would need to ensure that people are available to receive and send out shipments, as well as plug in drives. Data centers provide "remote hands" services that are able to handle this sort of thing 24/7.
- Bandwidth is much more expensive than in the data center.
- Partners and clients like to see that their data is being handled securely. Your typical San Francisco office provides nowhere near the same level of security as a data center.
Why not use Snowballs?
Many of us have used Snowballs in the past to do this sort of thing. Snowballs are great, but also suffer a few downsides:
- We would need to do copies from the drives to the Snowballs after each game.
- Snowballs require more logistical overhead. You need to order them two weeks in advance to be safe, and you need multiple for redundancy. We've seen Snowballs get lost in shipping and Snowballs dead-on-arrival.
- Snowballs have longer transit time. Once you drop a Snowball off at UPS, your data typically isn't available in S3 for 4-5 days. We can get the drives to a data center and uploaded much sooner.
- At $200 per Snowball, using a data center on-ramp ends up being cheaper than ordering Snowballs every week.
Direct Connect
The Physical Layer
The first step is to physically get some equipment into a data center where AWS Direct Connect is available. If you've never put any equipment in a physical data center, you might be surprised by how easy it is. Depending on the location, contract term/size, power usage, etc., you're probably looking at under $500/month for space and power for one cabinet. That's less than the cost of keeping 40TB of data in S3's infrequent access tier.
Once you have some space and equipment to connect to AWS, you need a Direct Connect "connection". This connection is typically created by connecting your equipment to Amazon's in your data center's "meet-me" room. Alternatively, you might connect your equipment to an AWS Partner's pre-provisioned connection. At Tempus Ex, we're currently doing the latter through Megaport as it's easier, cheaper, and much more flexible for us.
Here's what our initial physical installation looked like, with one dock, before being turned on or configured:
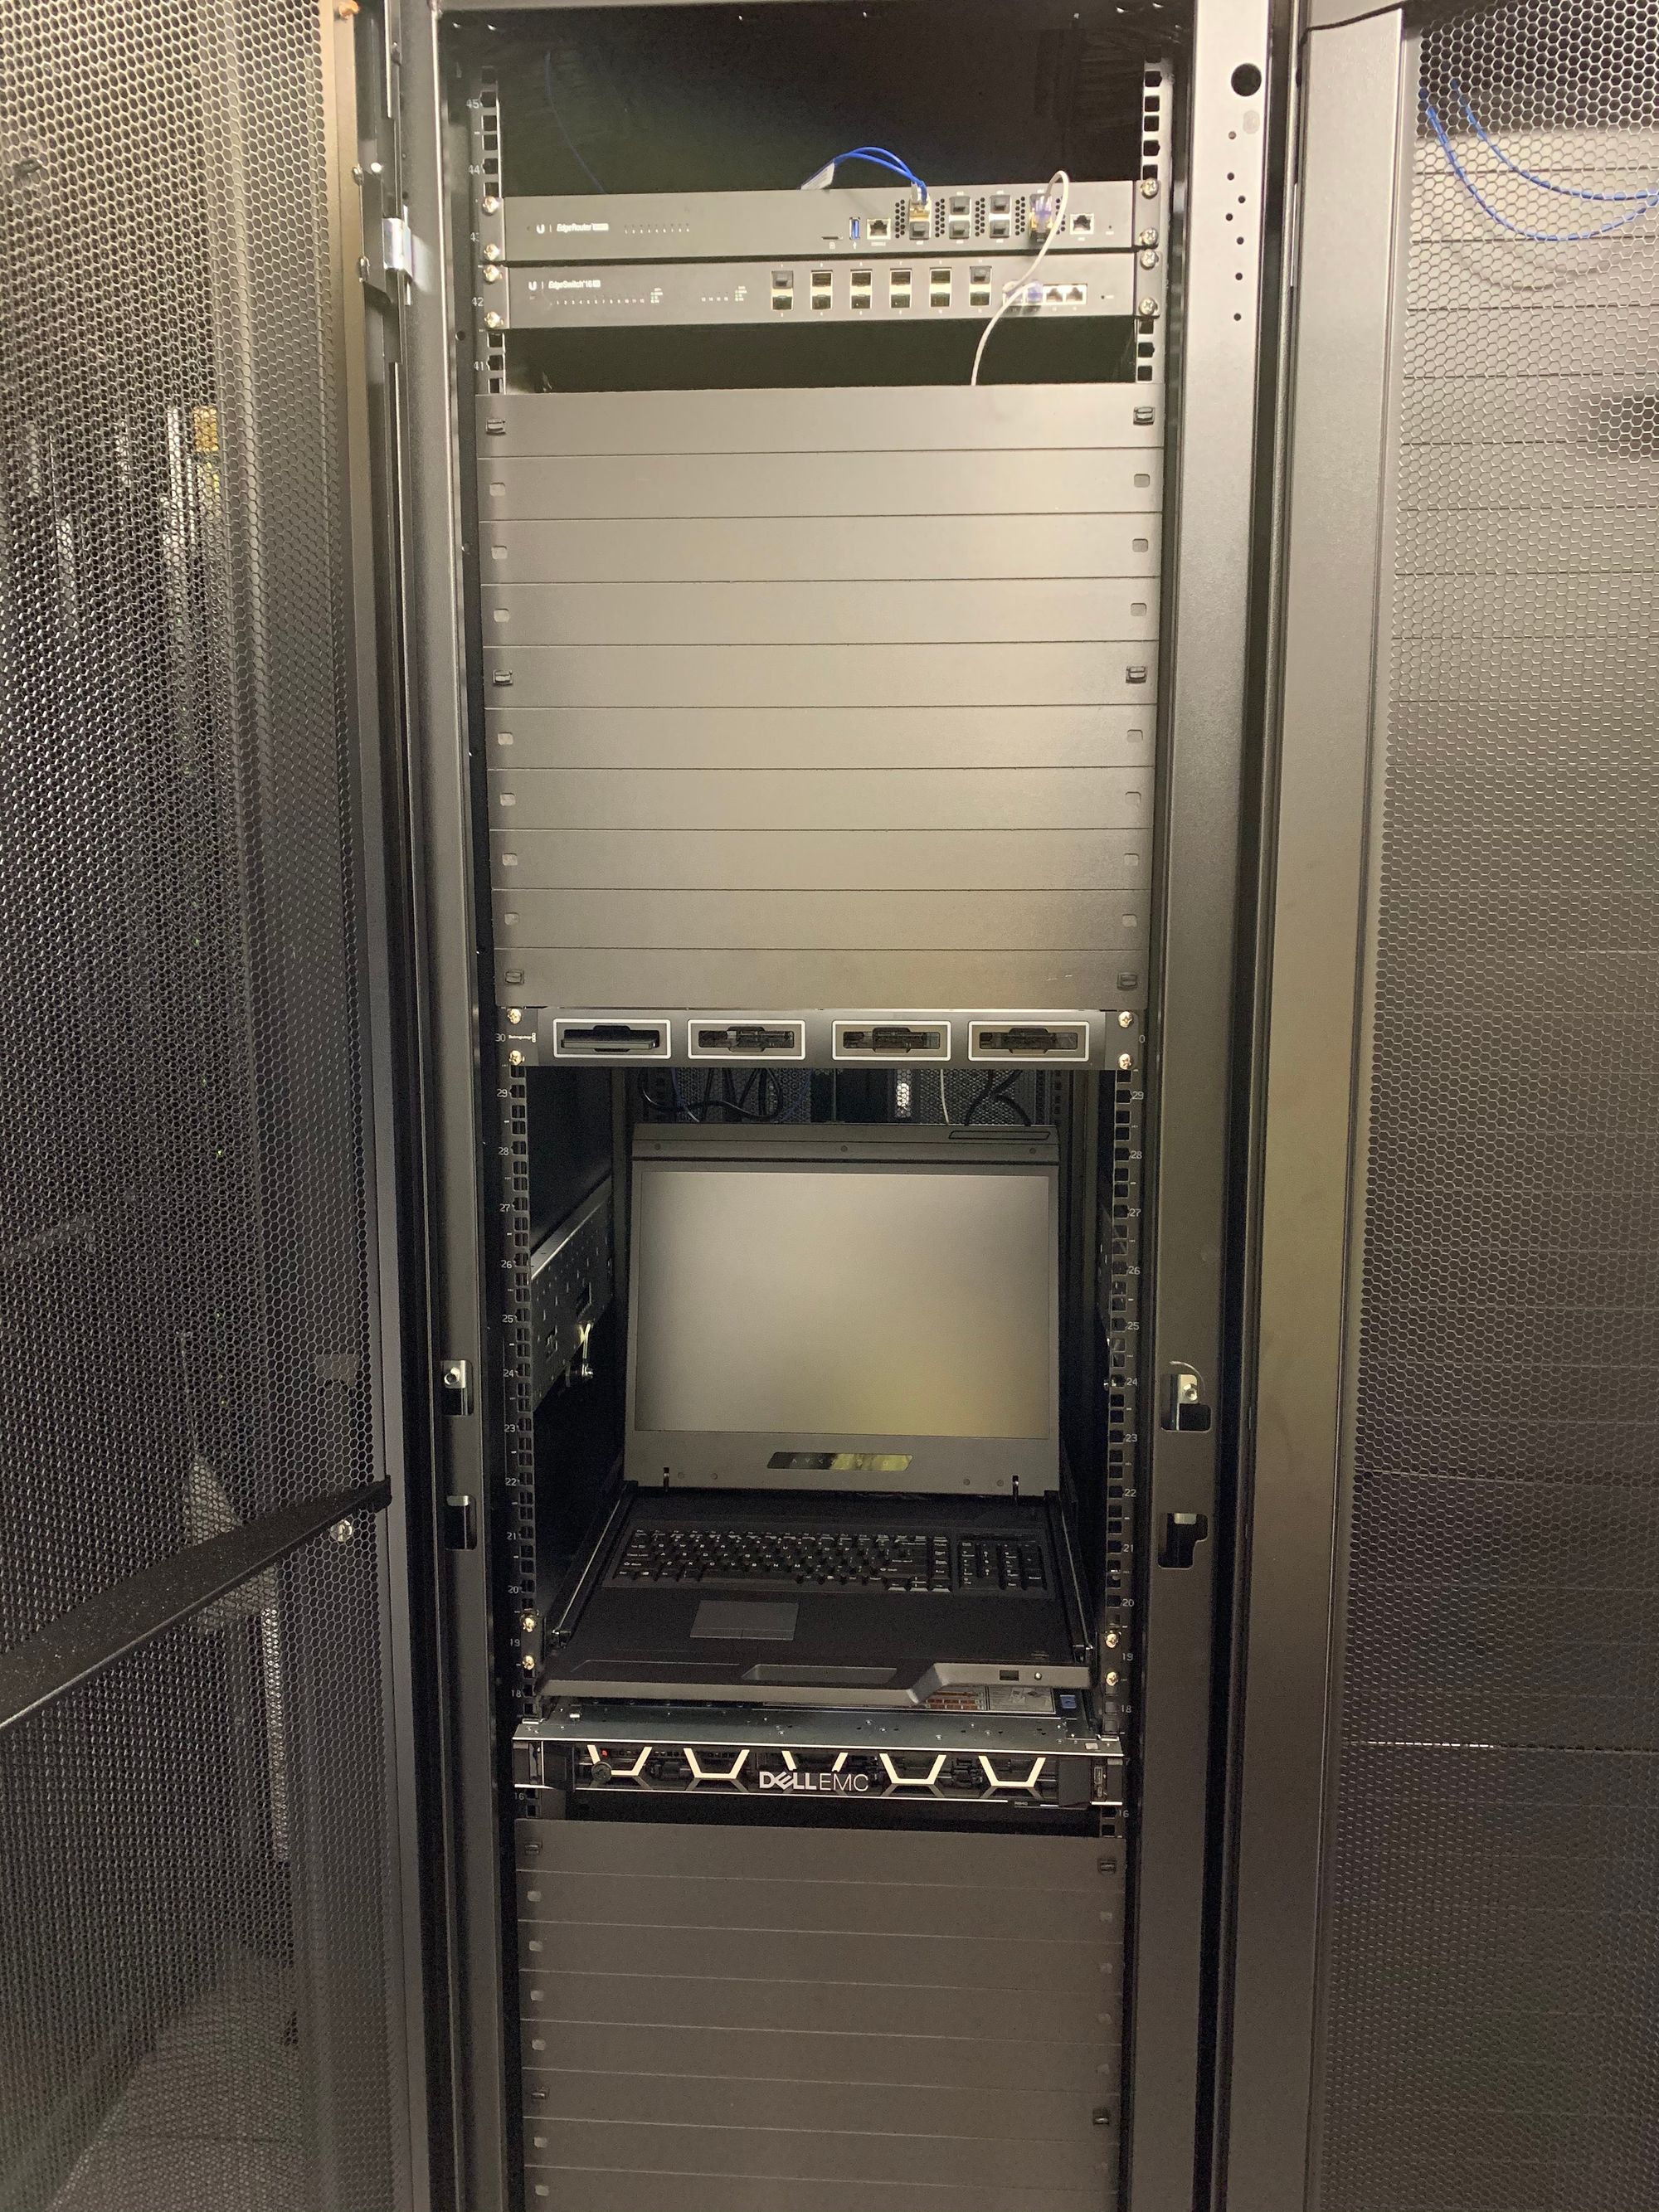
Shown here:
- Ubiquiti EdgeRouter Infinity – We had used this router for other things in the past, and it supports everything Direct Connect requires. Most importantly, it supports VLAN tagging, BGP, and 10Gbps speeds. The blue fiber coming in from the top is our AWS Direct Connect connection.
- Ubiquiti EdgeSwitch 16 XG – Like the router, we had prior experience with this model, but any 10G switch would do.
- PowerEdge R640 – This is a moderately powerful machine with 10G networking and several PCIe slots that can be used to connect docks.
- Blackmagic MultiDock 10G – We love Blackmagic products, so this was our go-to. It's very easy to pull drives out or plug them in compared to more conventional rack-mount enclosures. In most cases, this isn't a feature you would want in a data center, but for us it's perfect.
- Rackmount Console – Sometimes you need a physical screen and keyboard at the server. A rack-mount console is a convenient alternative to a crash cart that allows us or the remote hands to do things like type in disk encryption keys when reboots are required.
This type of setup will support up to about 144 drives in a cabinet, so it has plenty of room to grow.
The VIF
Once you have a physical connection, you need a "virtual interface" or "VIF" for your traffic. There are two types of VIFs: public and private. A public VIF provides connectivity to all of Amazon's public IP addresses. A private VIF provides access to private resources running within your VPCs.
Private VIFs are easier to set up, but don't provide connectivity to S3 (VPC endpoints for S3 don't work with private VIFs.). That means the on-ramp needs a public VIF to be able to upload data.
The process to create a VIF depends on if you're using your own Direct Connect connection or creating a hosted VIF on a partner's connection. If you're using your own connection, you'll create the VIF in the AWS console. If you're using a hosted connection, you'll request the VIF through your partner and they'll create the VIF for you.
Here are the key pieces of information required to create or request a public VIF:
- VLAN – VLAN tagging is what enables you to create multiple VIFs on a single physical connection. You can pick any number, as long as it isn't in use by any existing VIFs on your connection.
- BGP ASN – This is the ASN number of your gateway. You can pick an arbitrary private ASN number (64512 to 65534).
- Address Family – At the moment, IPv4 is still dominant. So we're going with IPv4.
- Customer Router Peer IP / Amazon Router Peer IP – For public VIFs, your router and Amazon's router both need public IP address, which you must own. If you own the Direct Connect connection, you can contact AWS support for a block of IP addresses. If you're using a hosted connection or need a larger block of IP addresses, you'll need to get the IP addresses elsewhere (Our colocation provided ours.).
- Prefixes you want to advertise – You're going to need to advertise some IP addresses for your machines. If you only have one block of IPs, your peer IPs will be included in these prefixes. For example, if you own the block 203.0.113.0/30, you might advertise this entire block and use 203.0.113.1/30 and 203.0.113.2/30 for BGP peer IPs.
- BGP authentication key – The TCP session used by BGP is protected by this key. When you create the VIF, make note of this key. There is a lot of documentation remaining that says you can find this key in a router configuration file that you can access from the console. This is no longer true. There is no longer any way to download router config files for VIFs, and AWS APIs that previously provided the BGP key no longer provide it. If you create the VIF and lose the key, you're going to have to create the BGP peer and/or VIF all over again. If you're requesting a hosted VIF from a partner, I would recommend you provide them with a key since they may still expect you to be able to access an auto-generated key after they create the VIF for you.
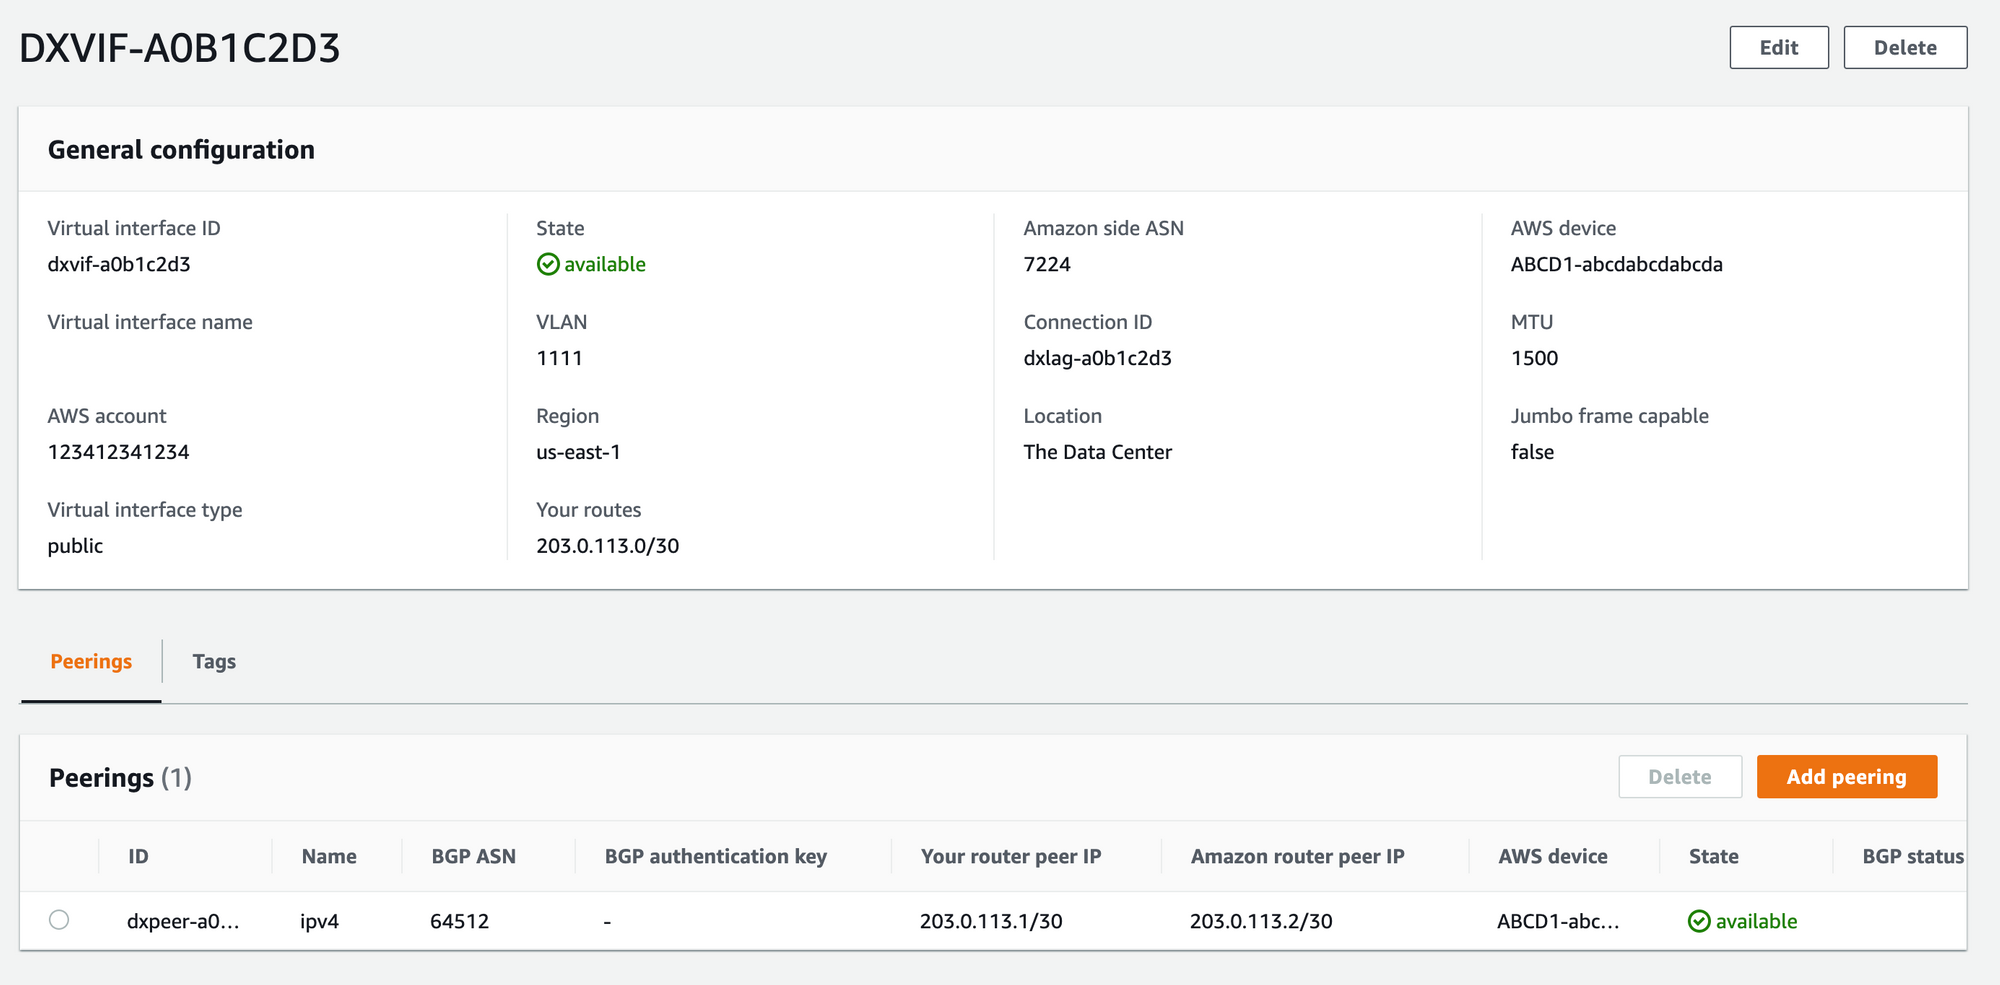
At this point, if you have a VIF that looks something like this, you're done with the easy part:
The Hard Part
With the physical components in place and the VIF created, all that's left to do is establish connectivity.
Layer 1 (Physical)
When you plug in the fiber for your connection, does the link light turn on? If so, you're good here. If not, your fiber might not be physically connected, or you might be using the wrong type of transceiver.
Debugging steps include:
- Make sure your router is turned on (obviously).
- Make sure you're using the correct transceiver. Pay attention to the details such as the wavelength, mode, and maximum distance. They need to match whatever the other end of the connection is using.
- Make sure the pair of fibers is in the correct orientation. Try swapping them around.
- Make sure the other end of the fiber is connected. There are tools you can use to detect whether or not the other end is connected, but if you don't have one or are unsure, you may need to ask your data center technicians or Direct Connect partner to double-check the other end.
Layer 2 (Data Link)
If your link light is on, all you need to do here is configure VLAN tagging on the port that your connection is on. This is kind of hard to get wrong, but you can verify that it's working after configuring BGP.
BGP
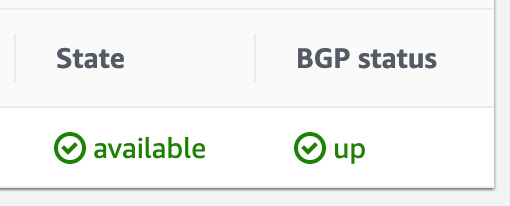
The first thing to do once the data link is established is get BGP up. The goal of this step is to make your VIF's BGP status green:
The process here varies by router, but here are the steps for the Ubiquiti EdgeRouter, using the example VIF shown in the above screenshot:
set policy prefix-list IMPORT-AS64512 rule 10 action permit
set policy prefix-list IMPORT-AS64512 rule 10 description ALLOW-DEFAULT-ROUTE
set policy prefix-list IMPORT-AS64512 rule 10 prefix 0.0.0.0/0
set policy prefix-list IMPORT-AS64512 rule 10 le 32
commitset policy prefix-list EXPORT-AS64512 rule 10 action permit
set policy prefix-list EXPORT-AS64512 rule 10 description “allow 203.0.113.0/30”
set policy prefix-list EXPORT-AS64512 rule 10 prefix 203.0.113.0/30
commitset protocols bgp 64512 parameters router-id 203.0.113.1
set protocols bgp 64512 neighbor 203.0.113.2 remote-as 7224
set protocols bgp 64512 neighbor 203.0.113.2 password THE_BGP_AUTH_KEY
set protocols bgp 64512 neighbor 203.0.113.2 soft-reconfiguration inbound
set protocols bgp 64512 parameters log-neighbor-changes
set protocols bgp 64512 neighbor 203.0.113.2 prefix-list export EXPORT-AS64512
set protocols bgp 64512 neighbor 203.0.113.2 prefix-list import IMPORT-AS64512
set protocols bgp 64512 neighbor 203.0.113.2 update-source 203.0.113.1
set protocols bgp 64512 network 203.0.113.0/30
commitAt this point your BGP session will hopefully be established. If not, you should first check the router's BGP state. With the EdgeRouter, you can use these commands:
show ip bgp summary
show ip bgp
show ip bgp neighbors 203.0.113.2 advertised-routes
show ip bgp neighbors 203.0.113.2 received-routesIf there's nothing apparently wrong there, you can try looking at a packet capture. You can SSH into the router and get a list of the available interfaces with ifconfig. You should see an interface specifically for your VLAN. If not, you need to double-check your VLAN tagging. Use tcpdump to capture a minute or so's worth of traffic on that interface, scp the dump to a laptop, and open it up in Wireshark. BGP uses a TCP connection between two routers on port 179.
- Do you see ARP packets from your router asking "Who is 203.0.113.2?"? Or TCP packets to or from 203.0.113.2? If not, you probably didn't configure VLAN tagging correctly. The two routers should be trying to establish a TCP connection via your VLAN interface.
- Is your router attempting to communicate with an IP other than Amazon's peer IP? If so, you probably misconfigured the BGP peer IPs on your router.
- Are packets to or from your router missing MD5 signatures? If so, you may have forgotten to configure the BGP authentication key. Similarly, if both ends are using MD5 signatures, but neither side is acknowledging the other's packets, you're using the wrong BGP authentication key.
Firewall
Once you get BGP up, it's time to secure yourself. Things you might want to do, depending on your topology and requirements:
- Configure a firewall
- Change your router password
- Add blackhole routing
- Configure NAT
Just make sure BGP is still green after these changes before moving on.
Server Connectivity
Finally, it's time to fire up the server and see if everything works. In our case, our server doesn't have Internet connectivity, which means virtually nothing will work without a DNS server hosted in AWS. We launched dnsmasq on an EC2 instance to serve as our DNS server, and if you'd like to do the same, you can find the CloudFormation template we used on GitHub: github.com/tempus-ex/dns-forwarder. After configuring our server to use that for DNS, our connectivity test was then simply nslookup google.com. If this works, all the hard work is done. 🎉
But according to Murphy, it won't work, and you'll need to do some debugging.
- Make sure your server has the router configured as a gateway.
- Make sure the router has all of Amazon's routes in its routing table (
show ip routefor the EdgeRouter). Routes to Amazon CIDRs should show up as active, via the Amazon router peer IP (e.g. "via 203.0.113.2"). The Amazon router peer IP should be "directly connected", but if the other Amazon routes appear inactive or directly connected, there's something wrong with your router configuration. - Make sure you've either correctly configured NAT or mapped public IP addresses to your servers. If you can SSH into your router and reach Amazon servers from there, but not your server, this is probably your problem.
Remote Access
Naturally, you need a way to access your servers remotely. One great way to do this is via the AWS Systems Manager. You can create a "Hybrid Activation" for your server, which allows you to connect to it via the session manager:
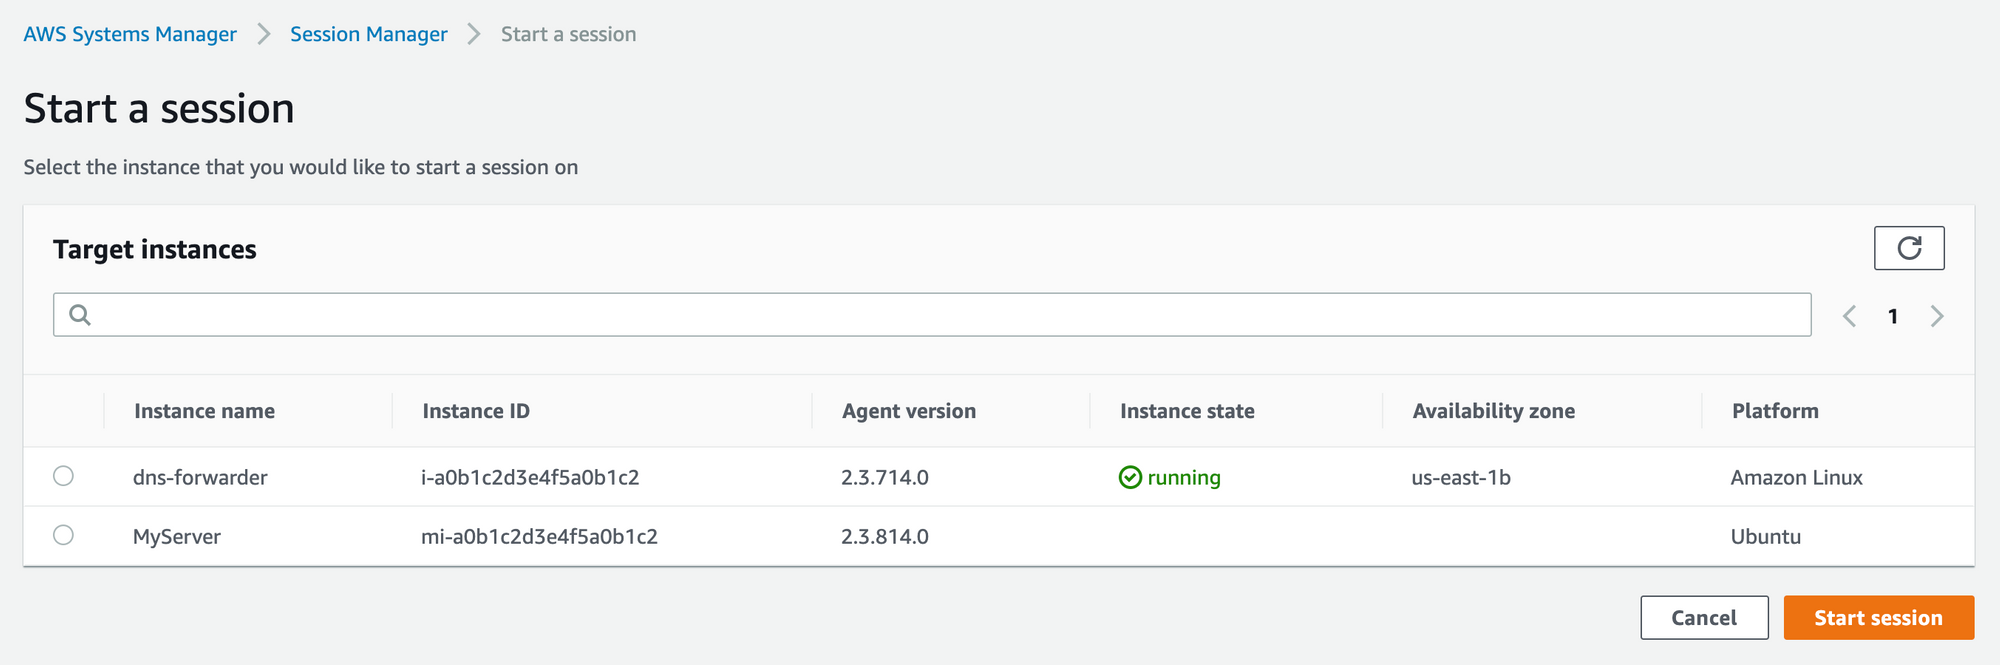
You can then control shell access to the server using IAM policies. No bastion hosts or SSH keys required, and it doesn't require Internet connectivity!